

So you built a cool little app, it works great on your machine, and now you want to actually give it to people without them opening a terminal and questioning their life choices 😅. That was me a few weeks ago, staring at my timer app wondering how to turn it into something that feels native when a Mac friend double-clicks it — no weird icons, no missing background, just a normal-looking .app. Turns out packaging a GTK app for macOS involves a surprising number of small, fiddly steps: generating the right icon resolutions, bundling your resources so the app can actually find them, and gluing it all together into a proper .app folder. In this third part of the series, I’ll walk you through exactly how I did it — mistakes, workarounds, and all.
Here are the things you will read in this article:
Why Native Packaging Matters for Cross-Platform Apps
Generating a Multi-Resolution App Icon (.icns) for macOS
Bundling Assets with GResource: Icons, Backgrounds & Metadata
Building the .app Bundle: Automating It with Makefile
Key Takeaways & What’s Next
Why Native Packaging Matters for Cross-Platform Apps
If you’ve ever sent a Linux binary to a Mac friend and watched them squint at a terminal wondering what to do with it, you already know the problem. A cross-platform app that runs “everywhere” isn’t the same as an app that runs like any other native app. On macOS specifically, that means a proper icon, a real .app bundle, and resources that don’t break just because the file structure changed. That’s what we’re fixing in this part of the series.
Generating a Multi-Resolution App Icon (.icns) for macOS
Select one image as your application icon, I am calling it here app-icon.png. It could be something like the image below. Notice that I already built it curved to be even more similar to Mac native apps.
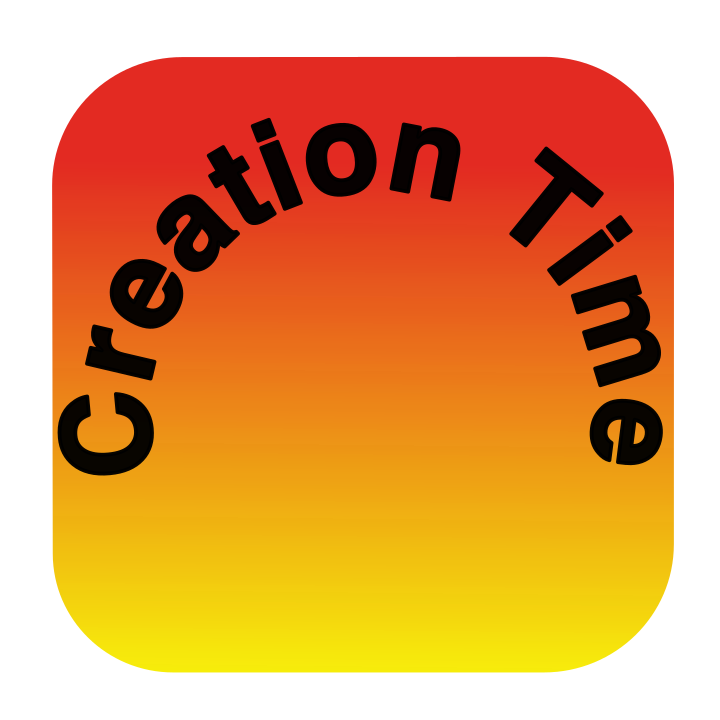
Then, once you have your app-icon image, you need to convert it to multiple resolutions as it is encouraged in the Apple application development documentation as a good practice. Basically, what it does is that by having these multiple resolutions, they could guarantee your app will be shown on different MacOS versions and form factors(old Macs and Macs with very different screen sizes). These are the commands you can execute to get multiple versions of your app-icon in multiple resolutions:
sips -z 16 16 assets/app-icon.png --out packaging/macos/AppIcon.iconset/icon_16x16.png
sips -z 32 32 assets/app-icon.png --out packaging/macos/AppIcon.iconset/icon_16x16@2x.png
sips -z 32 32 assets/app-icon.png --out packaging/macos/AppIcon.iconset/icon_32x32.png
sips -z 64 64 assets/app-icon.png --out packaging/macos/AppIcon.iconset/icon_32x32@2x.png
After generating files with multiple resolution sizes to multiple architectures, you need to compact them in a format expected by MacOS(.iconset), where all application images in all expected sizes/resolutions for the app will be. You can do that with the following command:
iconutil -c icns packaging/macos/AppIcon.iconset Bundling Assets with GResource: Icons, Backgrounds & Metadata
With .app or with native apps, you do not get to use the images or resources as you were using before, like loading them from a local relative path from disk, they need to get bundled together with everything within the same .app folder. So for the wrapper to be able to package your assets and images the way you want, you need to write a description file. In this project, I am calling resources.xml, and here it is:
<?xml version=”1.0” encoding=”UTF-8”?>
<gresources>
<gresource prefix=”app-background”>
<file>assets/creation-time-bg.png</file>
</gresource>
</gresources>
This resources.xml file, after compiling it, produces an application data bundle file called GResource. Making it creation-time-bg.png file available to be accessed by the running application. You can compile the GResource file with the commands below:
glib-compile-resources --generate --generate-source resources.xml
glib-compile-resources --generate --generate-header resources.xml

# Also add resources.c generated to your compilation line-up
$(CC) main.c resources.c -o $(TARGET) $(CFLAGS) $(LIBS)
Building the .app Bundle: Automating It with Makefile
After doing all of the above, now you can rest and enjoy, right? 😅 Now it is simple you just need to convert everything to one folder .app, in our case CreationTimer.app, and if you placed everything where it should be and followed this article by the book, you will have a native-like macOS application. In any case, I added to the Makefile of our application to make it easy for me and you 😉 to test multiple icons pretty fast, here is the Makefile target I created for this:
bundle: my_gtk_app

	./generate_icons.sh
	mkdir -p $(APP)
	mkdir -p $(APP)/Contents/MacOS
	mkdir -p $(APP)/Contents/Resources

	cp my_gtk_app $(APP)/Contents/MacOS/CreationTimer
	cp packaging/macos/Info.plist $(APP)/Contents/
	cp packaging/macos/AppIcon.icns $(APP)/Contents/Resources/
Key Takeaways & What’s Next
Packaging for macOS taught me that creating a MacOS “native-app” is mostly about respecting a platform’s conventions(and documentation) — icons in the right resolutions, resources bundled the way the OS expects, and a folder structure it recognizes as an app rather than a pile of files. None of it is hard on its own, but it’s easy to get wrong in small, silent ways (ask me about the images that didn’t load 😅).
Next up in this series: I’ll be cross-compiling this same app for Linux and Windows, and sharing what breaks, what surprises me, and how the packaging story differs on each platform. If macOS was about fitting in, I have a feeling Windows and Linux will each come with their own flavor of “fun”.
As always, feedback is welcome — I’m still finding my voice here, so tell me what’s working and what isn’t.
As always github link for our projects is here: https://github.com/solodevelingdev/creation-timer-app