On the first post of this series Part 1 we were exploring a I wield idea of mine of developing a Timer native App for MacOS(crazy I know). I had a lot of fun writting the app and writting an article about it so I would like to thank y’all that read the article, it means the world to me, next step is to help you guys to write me a comment( if you are still reading comment C > Rust ) 😅.

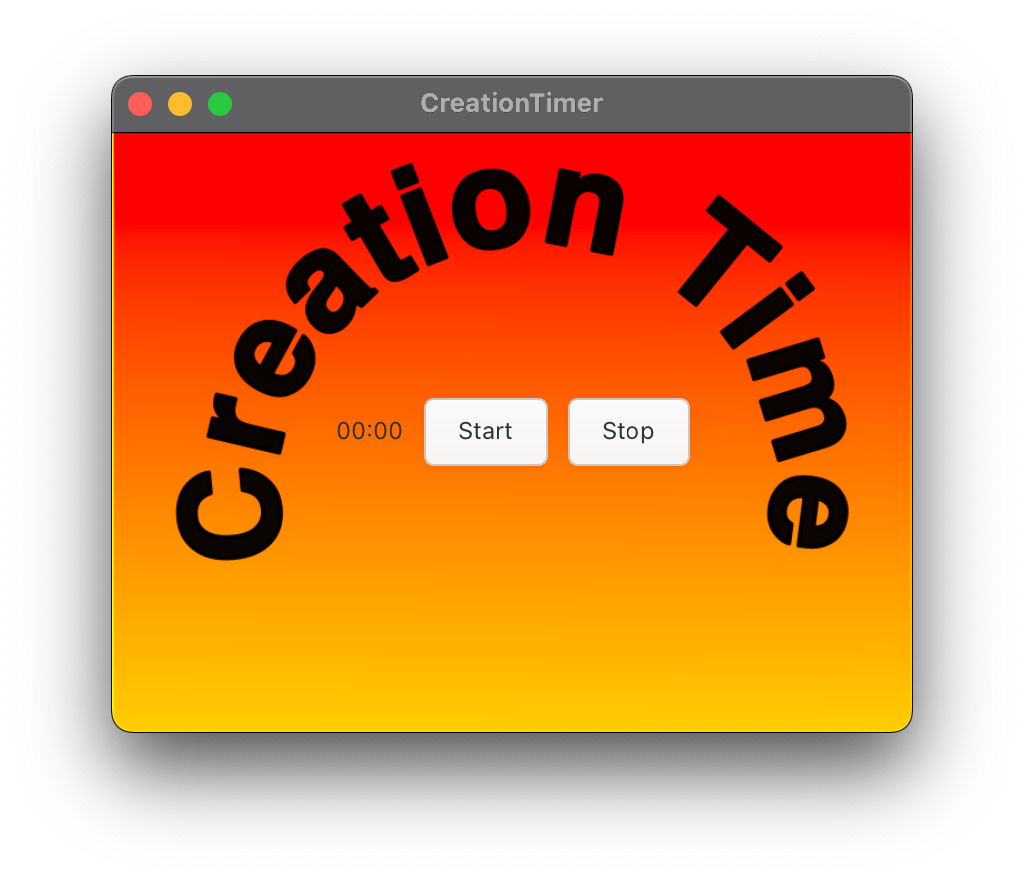
Okay on the first post I told you I would like to create more stuff, instead of keep on trend of content consuming we live, inspired by Millionaire Fastlane from MJ De Marco, past episode I created the MVP of a timer(if you will). This time I made it look more pleasant 😅, to make this timer data useful sending to the ☁️ and learned a bunch stuff on how to make GTK4 obey your orders(for the most part).
Here are the things you will read on this article: - How to perform HTTP Requests in C
HTTP Requests in C
To be able to make our app useful(yes it is our app we are building it together right ? 😅) we need to gather this information of how much time we spent creating, there are several ways of doing it via git commit, via Google Forms/Sheets integration, via Obsidian files but I choose the Google Sheets path because it is quick and easy.
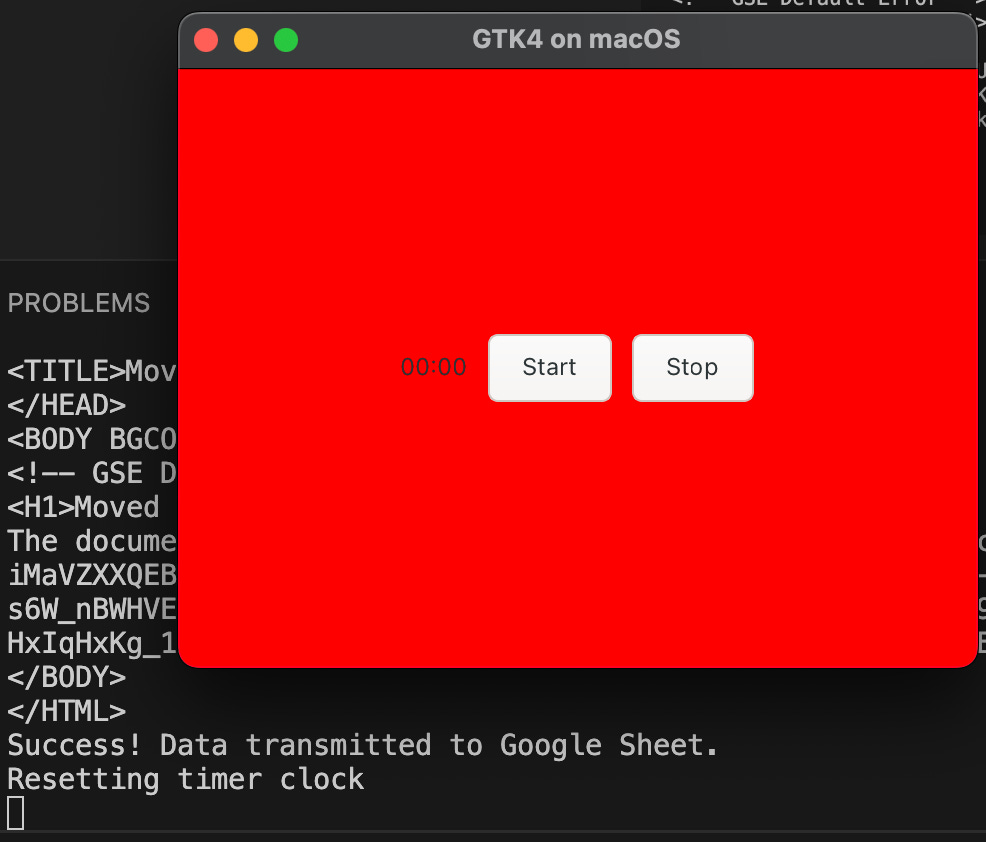
On this part I will explain you the backend part of the solution, the part that runs locally. A common Linux/Mac command for performing HTTP Requests is Curl and for our luck there is a library called libcurl that enables us to do everything we do on the command line with curl also with code in C. Did I told you we can send parameters for a POST request via json as we do in Postman and other applications, cool right ? Below you can see everything you need to integrate this to your solution:
include <curl/curl.h>
# ...
CURL *curl = curl_easy_init();
struct curl_slist *headers = NULL;
headers = curl_slist_append(headers, “Content-Type: application/json”);
curl_easy_setopt(curl, CURLOPT_HTTPHEADER, headers);
const char *url = “<add-your-googlesheets-url-here>”;
char post_data[256]; = “<add-your-data>”;
curl_easy_setopt(curl, CURLOPT_URL, url);
curl_easy_setopt(curl, CURLOPT_POSTFIELDS, post_data);
// Performs http POST using curl
CURLcode res = curl_easy_perform(curl);
// Cleaning up after curl is performed freeing up all resources
curl_easy_cleanup(curl);
// Removes all traces of a previously built curl_slist linked list
curl_slist_free_all(headers);
Then if response=CURLE_OK data was transmitter successfully!
Get your info to the Cloud ☁️
The part of the solution being executed on the Cloud is really quick and simple. Create a Google Sheet, then go to the Extensions Tab and click on App Scripts extension(showed on the images below).
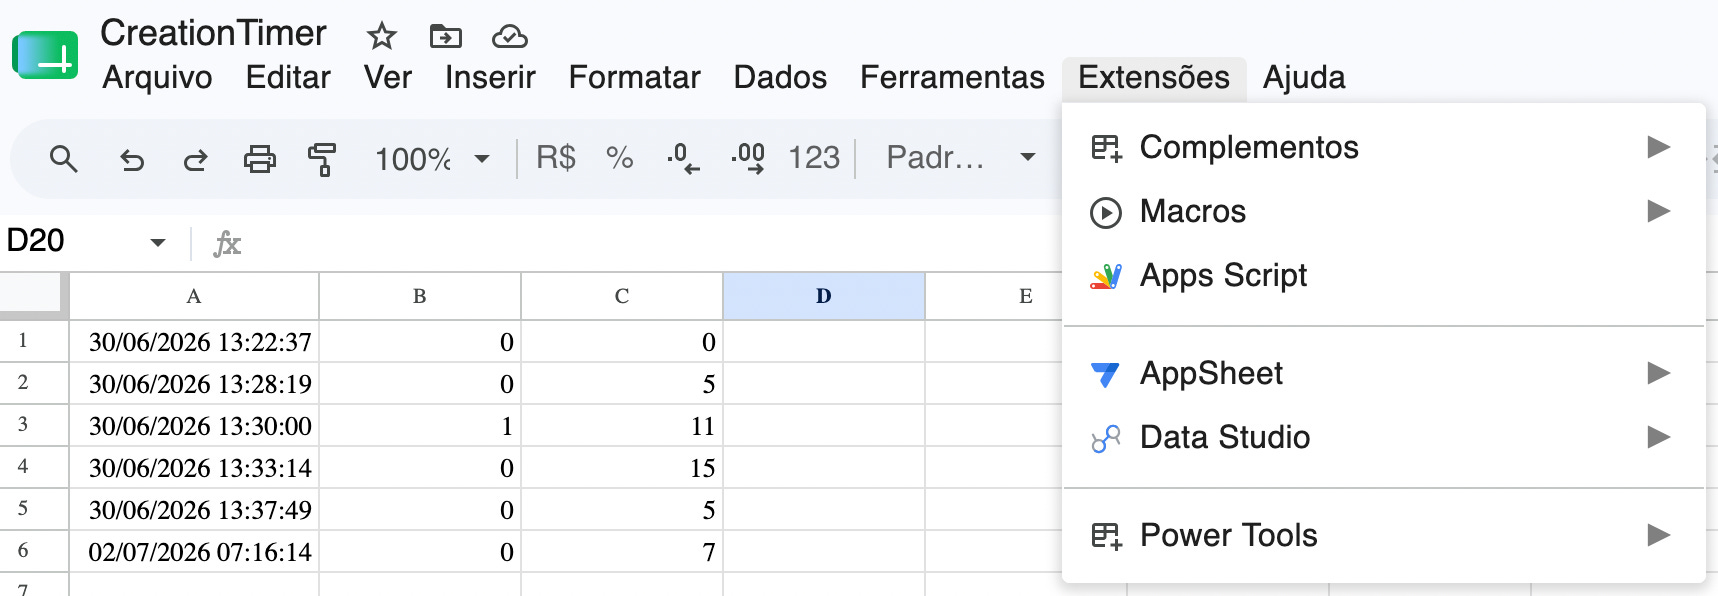
If you want you can copy and paste the code below but this time change it to the inner workings of your application here my script is looking for POST data and extracting minutes and seconds form this http request, you should then modify to whatever your application is sending.
function doPost(e) {
  try {
    const sheet = SpreadsheetApp.getActiveSpreadsheet().getSheetByName(”Sheet1”);

    const data = JSON.parse(e.postData.contents);

    sheet.appendRow([
      new Date(),
      data.minutes,
      data.seconds
    ]);

    return ContentService
      .createTextOutput(JSON.stringify({
        success: true
      }))
      .setMimeType(ContentService.MimeType.JSON);

  } catch (err) {
    return ContentService
      .createTextOutput(JSON.stringify({
        success: false,
        error: err.toString()
      }))
      .setMimeType(ContentService.MimeType.JSON);
  }
}
Then you deploy this script with Google and your Google Sheet will be listening to POST requests and if you did a good job of not publishing your Sheets link everywhere or on git for example 😅 you will be fine. One thing you can do is to have sensitive links outside of your main application on files that are not being uploaded to git for example. Going back to GoogleSheets talk hit Deploy and you are done. Congratulations now you have your first C application sending data to the Cloud completely for free.

Now you can do anything you want with the data from the Cloud side, like plot beautiful graphs or take it one step further and integrate it to some dashboard of yours, where you could make this data more visible to you.
How to Set and Customize Application Backgrounds
Since our application is already “functional”, lets make it beautiful...well well well, there are couple of ways you can do this inside GTK framework, the first one is to use the css provider we were using before to set the background color to RED to now change background-image, and then job done, right ? Right ? 😅 Not exactly...
So with the CSS solution you should be able to change no problem(Example images below) but if you want to control things like will this background picture be repeating, will it tightly fit the size of the window application ? You can still solve this things with CSS but documentation start to get scarce in my opinion.
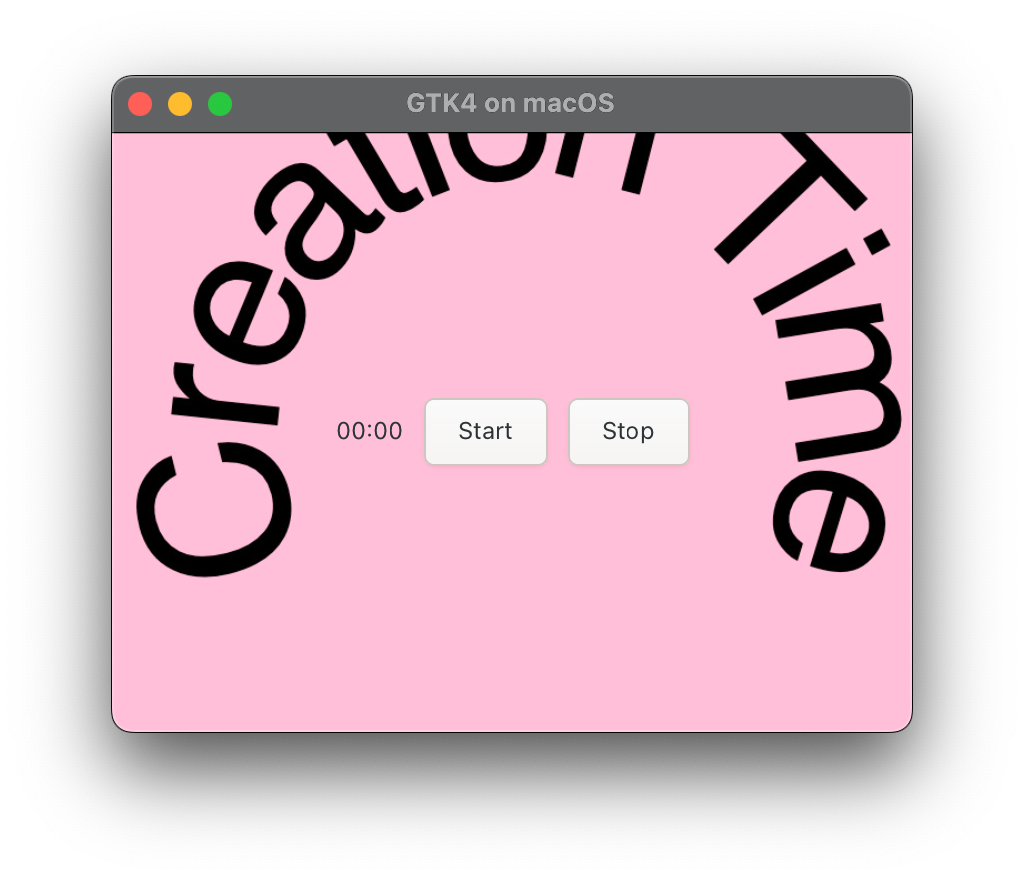
Here is the code on how you would do it with CSS, finding the correct path is a bit finicky but using the code below you should be able to do it for your own application.
const char *css =
“.background {”
“  background-image: url(\”file:///<absolute-path-for-background-img>\”);”
“}”;
I ended it up going back to gtk_picture and I feel like it gives me much more control over the image shown on the application and also if I want this tile repeating effect to happen or not. Here it is how you can use it.
background = gtk_picture_new_for_resource(”app-background/assets/creation-time-bg.png”);
gtk_picture_set_can_shrink(GTK_PICTURE(background), TRUE);
gtk_picture_set_content_fit(GTK_PICTURE(background),GTK_CONTENT_FIT_COVER);
The End for now ...
I hope you liked and learned something with this post I did not want to make it 100% tutorial again, this time I added more code to it because I also found a lack of examples for things like using json parameters with libcurl in C, I hope you liked the lessons I shared and the problems I spent the most amount of neurons on it past weekend. Please any feedback is welcomed it is my second post on this platform and I am still want to find my voice, and maybe one day I can do funnier and more informative posts like other creators but I know that even them started somewhere.
The code for the whole application you can checkout here : creation-timer-app